Saturday, 19 September 2026
Updated on 20 October 2026
Roof measurement with a drone: what a small business really needs
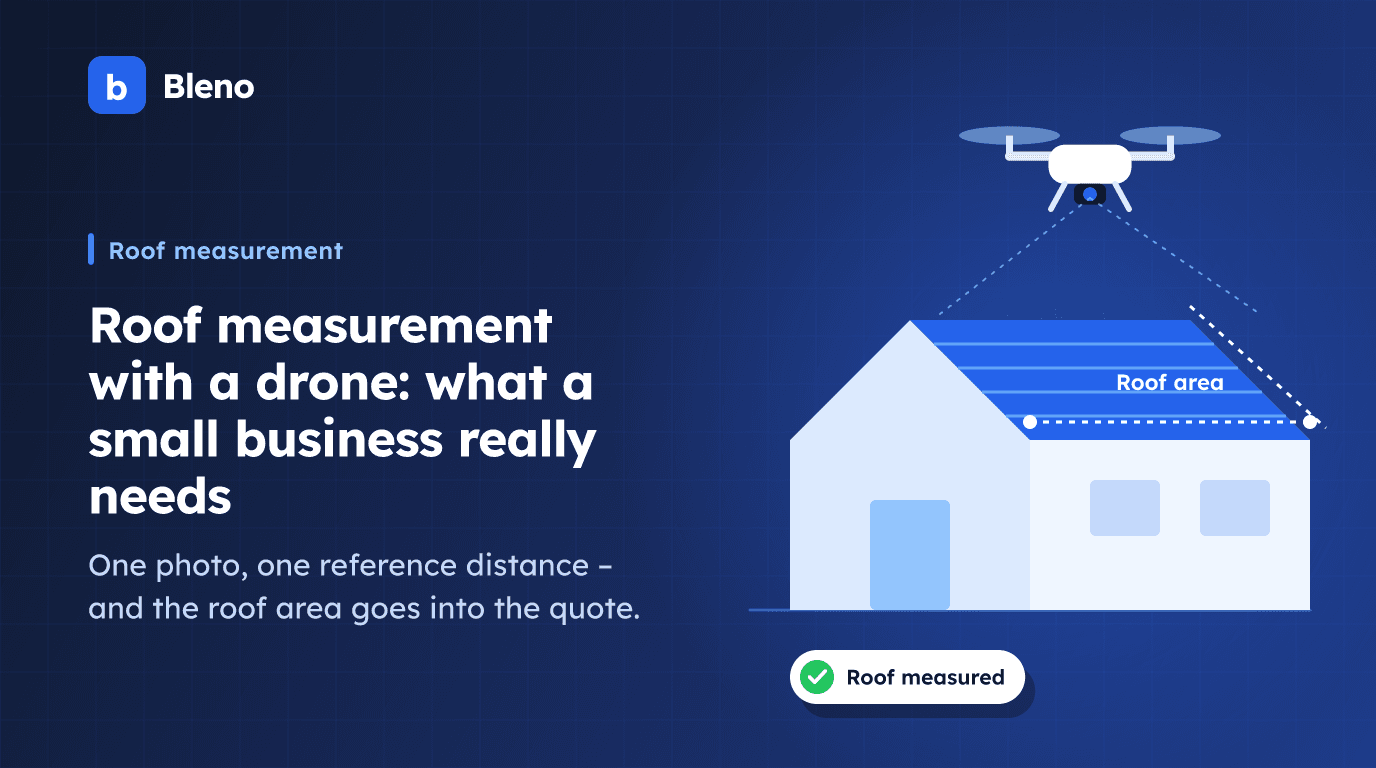
In many roofing businesses the drone has long been in the van. For damage photos, for the insurer, for the customer on the phone. Only when it comes to measuring does it stop: for the quantities it's back on the roof or up the ladder – or the business books a surveying service on top.
Yet the photo that gets taken anyway already contains almost everything a quote needs. This article sorts out what a roof measurement with a drone actually delivers for a small business, where the limit lies and what to bear in mind when flying in 2026.
Three ways to measure a roof – and what they cost
Roughly speaking there are three methods, and they differ less in technology than in effort:
- Measuring on site. Tape measure, laser distance meter, ladder or scaffolding. Accurate, but a trip every time, and on a pitched roof also a question of safety. For final billing it remains the benchmark.
- Surveying service with a drone flight. A provider flies over the property or evaluates your images and delivers a 3D survey with areas, lengths, valleys, hips and pitches. The result is reliable enough for billing and photovoltaic planning – but it costs money per property or a running subscription and needs one to two days' lead time.
- Measuring in your own photo. You photograph the roof vertically from above, set a known distance as the scale and draw in the surfaces. Result in minutes, with no extra subscription – as the basis for the quote and material order.
For a business with one to three measurements a month, a running surveying subscription rarely pays off. For the one big project with a PV system and strict billing, on the other hand, it does. The most honest answer is therefore: you need both, just not at the same time.
How measuring in a photo works
The method is called the reference measurement method and, at its core, is a rule-of-three calculation.
First: photograph vertically. The camera must point straight down, i.e. parallel to the surface you want to measure. Only then does the photo show the surface to scale. An image taken at an angle is distorted by perspective – everything further away gets smaller – and without rectification no reliable measurement can be taken from it.
Second: measure a reference distance. A photo on its own has no scale; the image only contains pixels. So you need a distance whose length you know: the eaves, the ridge, the width of a dormer. Measure it on site with the laser and enter the value. "800 pixels correspond to 16 metres" becomes the scale for the entire image.
What matters here is which plane the reference distance lies on. Ridge and eaves are at different heights and therefore appear at different scales in the image – the higher up, the closer to the camera, the larger the same length appears. So choose the reference on the surface you are actually measuring, not on the ground in front of it.
Third: enter the pitch. A vertical photo shows the plan area – what the roof covers on the ground. The actual roof area is larger. The conversion factor is the reciprocal of the cosine of the pitch: at 35 degrees the true area is about 22 per cent larger than the plan area, at 45 degrees about 41 per cent. That is why the pitch is not a detail but a required input. It is usually in the existing building documents, can be taken at the gable with an angle app or calculated from the ratio of height to half the building width.
Deductions – dormers, roof windows, chimney openings – are drawn in the same way, just with a negative sign.
What you get – and what you don't
A measurement determined this way is a basis for quotes and materials. It tells you how many square metres of roof covering, how many pallets of tiles, how much underlay, how long the eaves flashings will be. For that it is good enough, and it saves the second trip.
What it is not: a professional survey. For the final invoice you still re-measure on site, or you get a surveyed 3D measurement for the specific property. How close the photo result comes to the re-measurement depends on three things that are in your own hands: how vertical the photo is, how carefully the reference distance was measured and how accurate the pitch is. Anyone who is sloppy here only notices when more material has to be ordered.
A second point that is often overlooked: information from the drone's image data – flight altitude, camera pitch angle – is at best suitable as a suggestion. The altitude there is measured relative to the take-off point, not the roof, and even a slightly tilted gimbal distorts the result. It is no substitute for a measured reference distance.
Drone rules 2026: what a trade business needs
For photographing your own construction property, the open category applies in the EU – the framework in which the vast majority of trade flights take place. The key points:
- Registration as an operator. Anyone operating a drone with a camera must register as a UAS operator – in Germany with the Federal Aviation Office (Luftfahrt-Bundesamt). The operator number issued must be visible on the aircraft.
- Proof of competence. Up to 250 grams take-off mass, no proof is required in subcategory A1. From 250 grams – including the widespread class C1 devices – you need the EU A1/A3 proof of competence, colloquially known in Germany as the "small drone licence". It is taken online.
- Insurance. Liability insurance for drone operation is mandatory; many business liability policies do not automatically cover it. Check briefly with your insurer.
- Where you may fly. Check no-fly and restricted zones on the official map before take-off (in Germany via the dipul portal). Separate rules apply around airports, railway facilities, hospitals, nature reserves and public authorities.
- Privacy and data protection. A nadir photo inevitably also captures neighbouring properties. Photograph the property in a targeted way, avoid people and visible private areas, and only store what you need for the job. A short note to the client before the flight saves discussions later.
- You don't need RTK. High-precision satellite positioning (RTK) helps with photogrammetric 3D models. With the reference measurement method, the scale comes from your measured distance, not from the drone's position.
These points reflect the situation as of September 2026 and are deliberately kept brief. The legal situation changes, and local restrictions come on top – check both before flying.
When which approach is worthwhile
A photo measurement is enough if you want to calculate a quote, the roof has a manageable shape, the pitch is known and billing is based on re-measurement anyway. In other words, in the normal case.
A surveying service is worthwhile if the roof is complex – many valleys, hips, shed dormers – if billing is based on the survey, if PV planning with shading analysis is involved or if a client demands a professionally surveyed measurement. A surveying service turns a drone flight into a 3D survey. It is best to ask the provider directly about terms and delivery times; they change.
The two are not mutually exclusive. The usual process in a small business looks more like this: enquiry comes in, drone up, measure the photo, quote out. If the job comes in, its size decides whether a more accurate survey is bought in.
In Bleno
In Bleno you upload the photo directly to the project, set the reference distance, draw in surfaces and deductions and enter the pitch for each surface. The result is a perfectly normal measurement group: the quantity appears on the quote line item, shows up in the measurement sheet and feeds into job costing. You don't need an extra subscription for this, and a drone with a camera is enough.
How digital measurement with formulas and groups works – the route without a photo – is described in detail in digital measurement for trade businesses.
For roofing businesses, the page Bleno for roofers shows how measurement, quote and site documentation work together.